Organizations and their related features are for Enterprise contracts only. Please reach out to our support team, your sales contact, or our Slack channel if you need to enable Enterprise features as you use Statsig.

Overview

This initial setup guide aims to provide a step-by-step guide for a set of essential configurations that you would need to get started with Statsig on Enterprise version. This guide is primarily written for organization admins who needs to set up the initial environment and put the guardrails in place for the broader teams to start using Statsig. It also includes some best practices to increase your operational efficiency and set your team up for success in the long run.

Statsig Workspace Structure

Statsig structure diagram
In Statsig, we have three constructs to help you organize your workspace and scale it out more broadly within your organization. Organization is an enterprise-level environment that allows companies to create project(s) and bring members to work inside the project. Project is a workspace within the organization where the configs (e.g., feature gates, experiments, layers, etc.), metrics, and SDK keys you and your team created lives. Team is a group of members at the project level that can help your organization manage the permissions and ownership of resources.

Our Recommendation

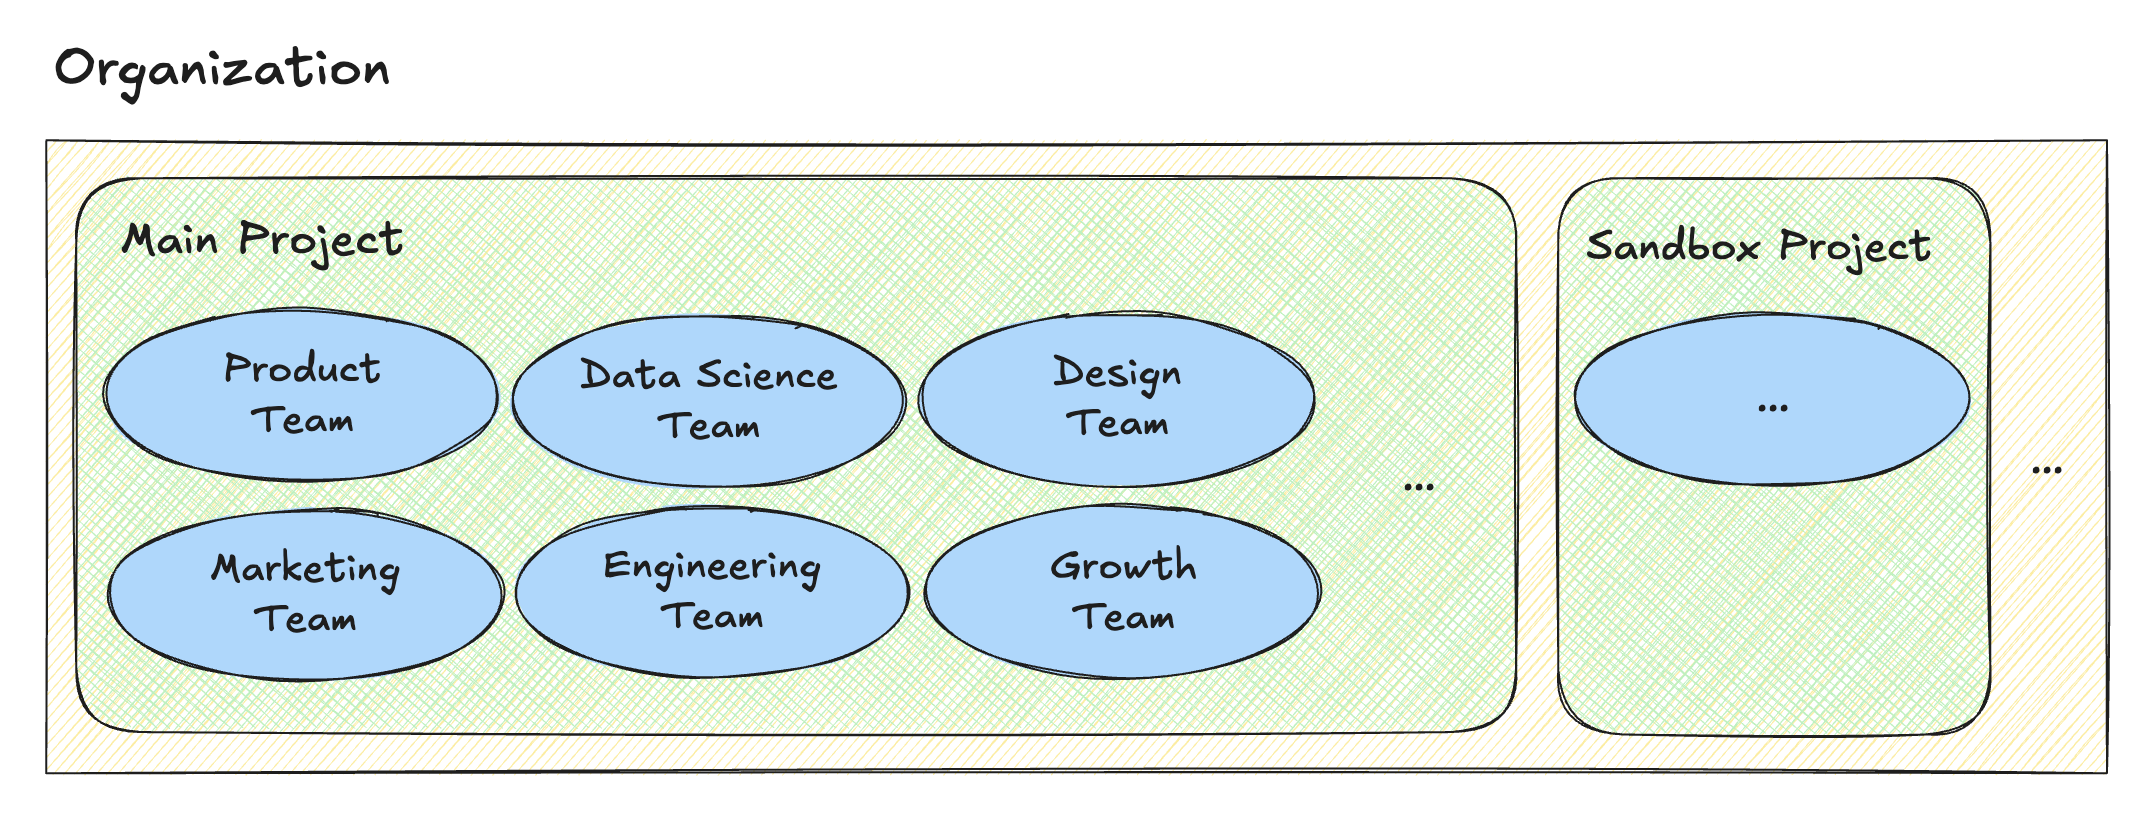
In Statsig, each project within the organization is isolated from one another. This means that none of the resources or data is shared among different projects, even if they are part of the same organization. Statsig team believes that the sensible default structure for most customers is having an organization with a single project where multiple teams contribute and collaborate inside. We believe that different teams and functions across your organization can stay well-organized within a single project by leveraging features such as teams, roles, tags, and templates. This also removes the risk of costly migrations if some projects ever need to be consolidated in the future for cross-functional collaborations.
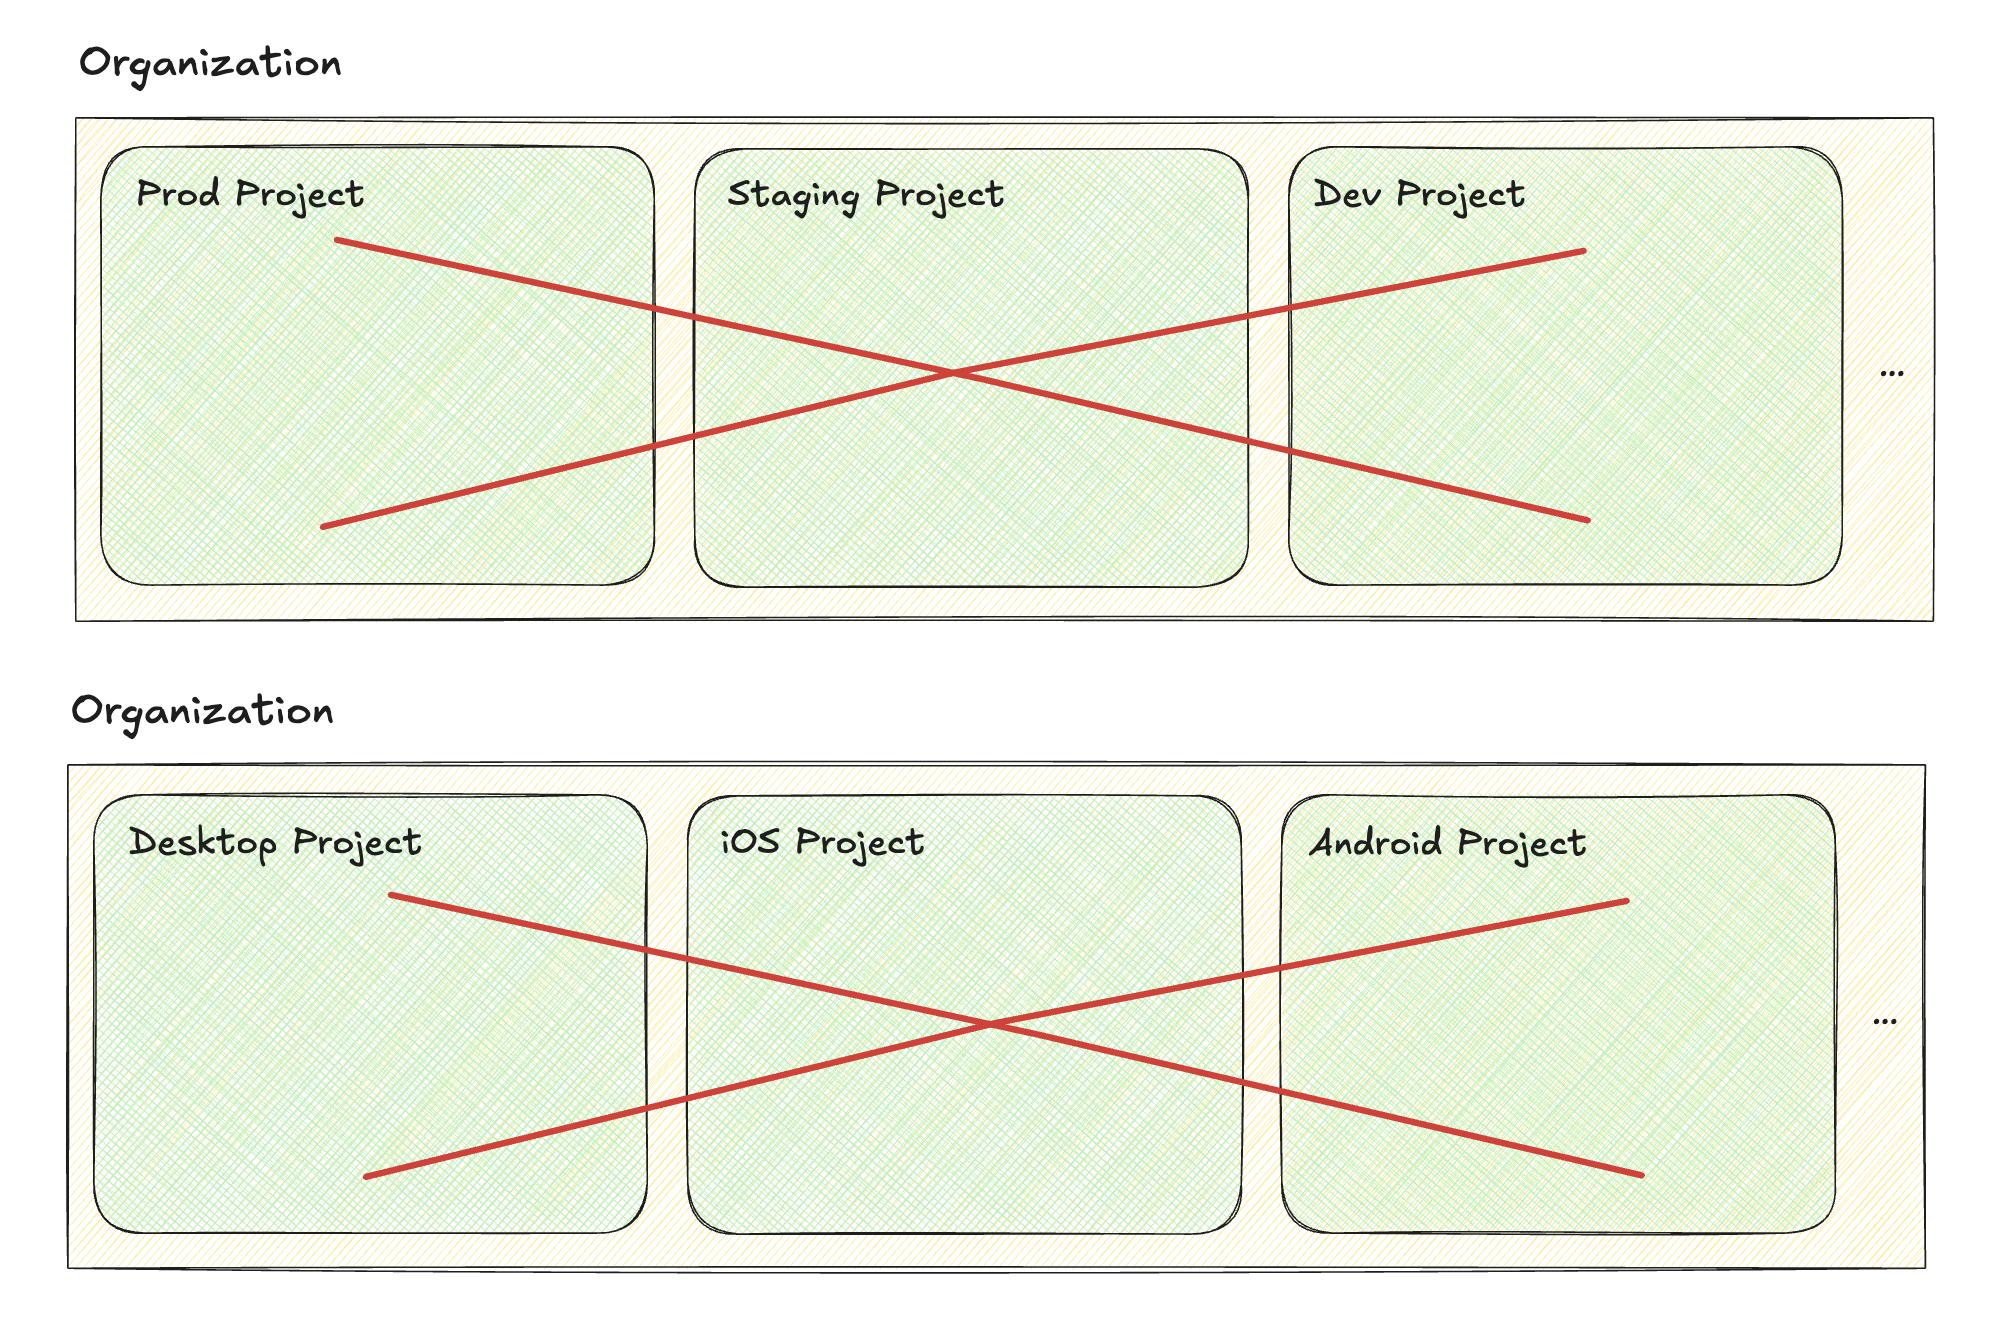
Statsig structure diagram anti pattern
Note that Statsig has rich support for environments within our resources. We consider it an anti-pattern to create multiple projects just to manage lower environments separately from production.

Setup Guide

Step 1: Setting up the Organization

When you sign an enterprise contract with Statsig, we will provision your existing Statsig account into an enterprise account. Once provisioned, you will see that the tab for Organization is now added to your account along with additional security and governance settings.

Step 2: Setting up the SSO

We recommend configuring SSO (Single Sign-On) for your Statsig organization to simplify the user experience while improving your security. Statsig supports any Identity Provider that implements the OIDC protocol for SSO, such as Okta, Microsoft Entra ID, Google, and more. Additionally, consider integrating SCIM (System for Cross-domain Identity Management) if you are using Okta as your identity provider.

Step 3: Creating your Project

Organization project administration interface
A project in Statsig serves as a workspace that contains everything you and your team will create. This includes configs (e.g., feature gates, experiments, dynamic configs, layers), metrics, integrations, and more. When creating a new project, you can set its type to Open which would allow anyone in the organization to join freely, or to Closed which would allow people to join only by invitation or request.

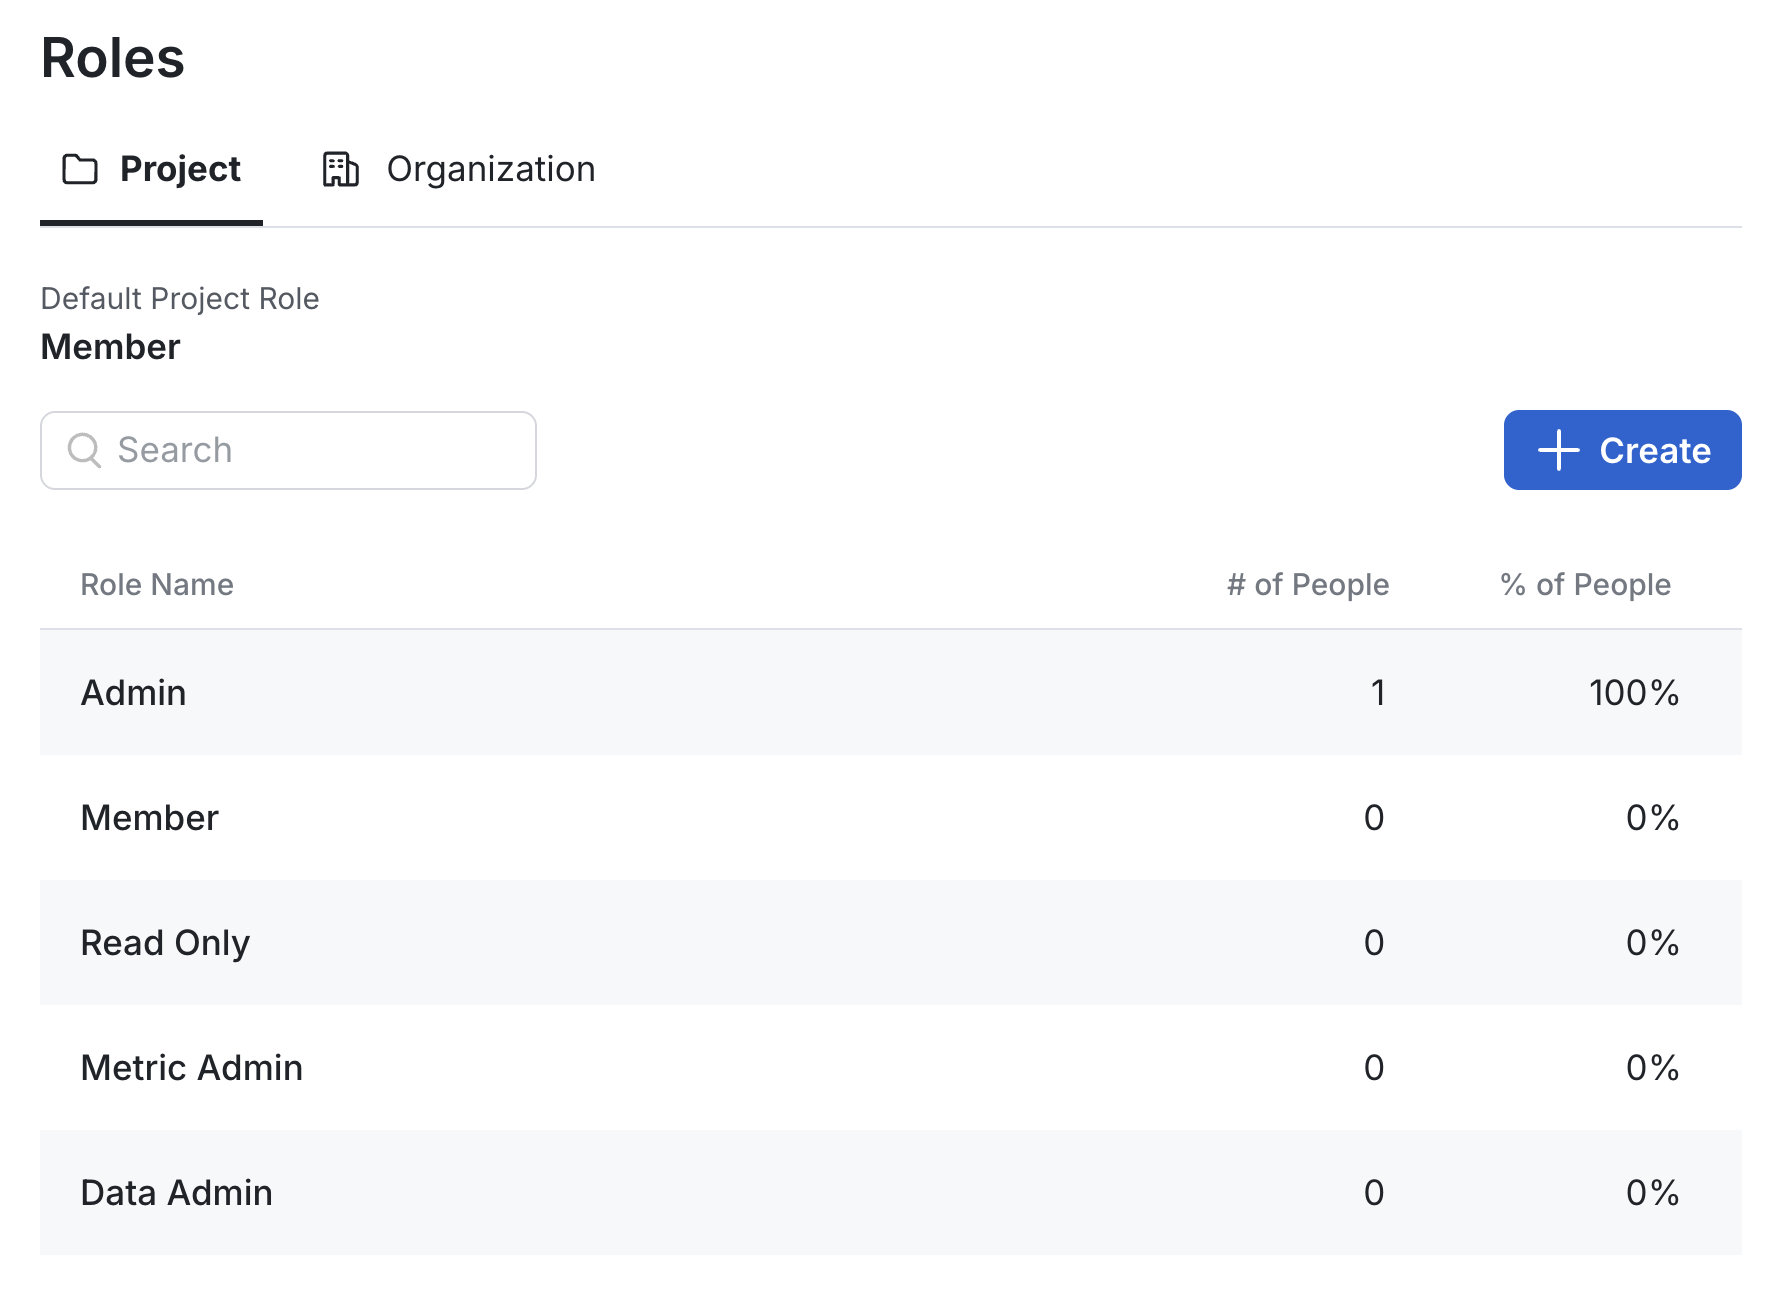
Step 4: Setting up the Roles

Project roles interface
Each person is assigned a role that defines their level of access within the project and organization. We recommend reviewing the permissions set for each predefined roles so you can assign the appropriate roles or create a custom role that aligns with your organization’s needs. Common examples of custom roles include a Metrics Admin (responsible for managing metrics) and a Data Warehouse Admin (in Warehouse Native projects, responsible for managing warehouse connections).

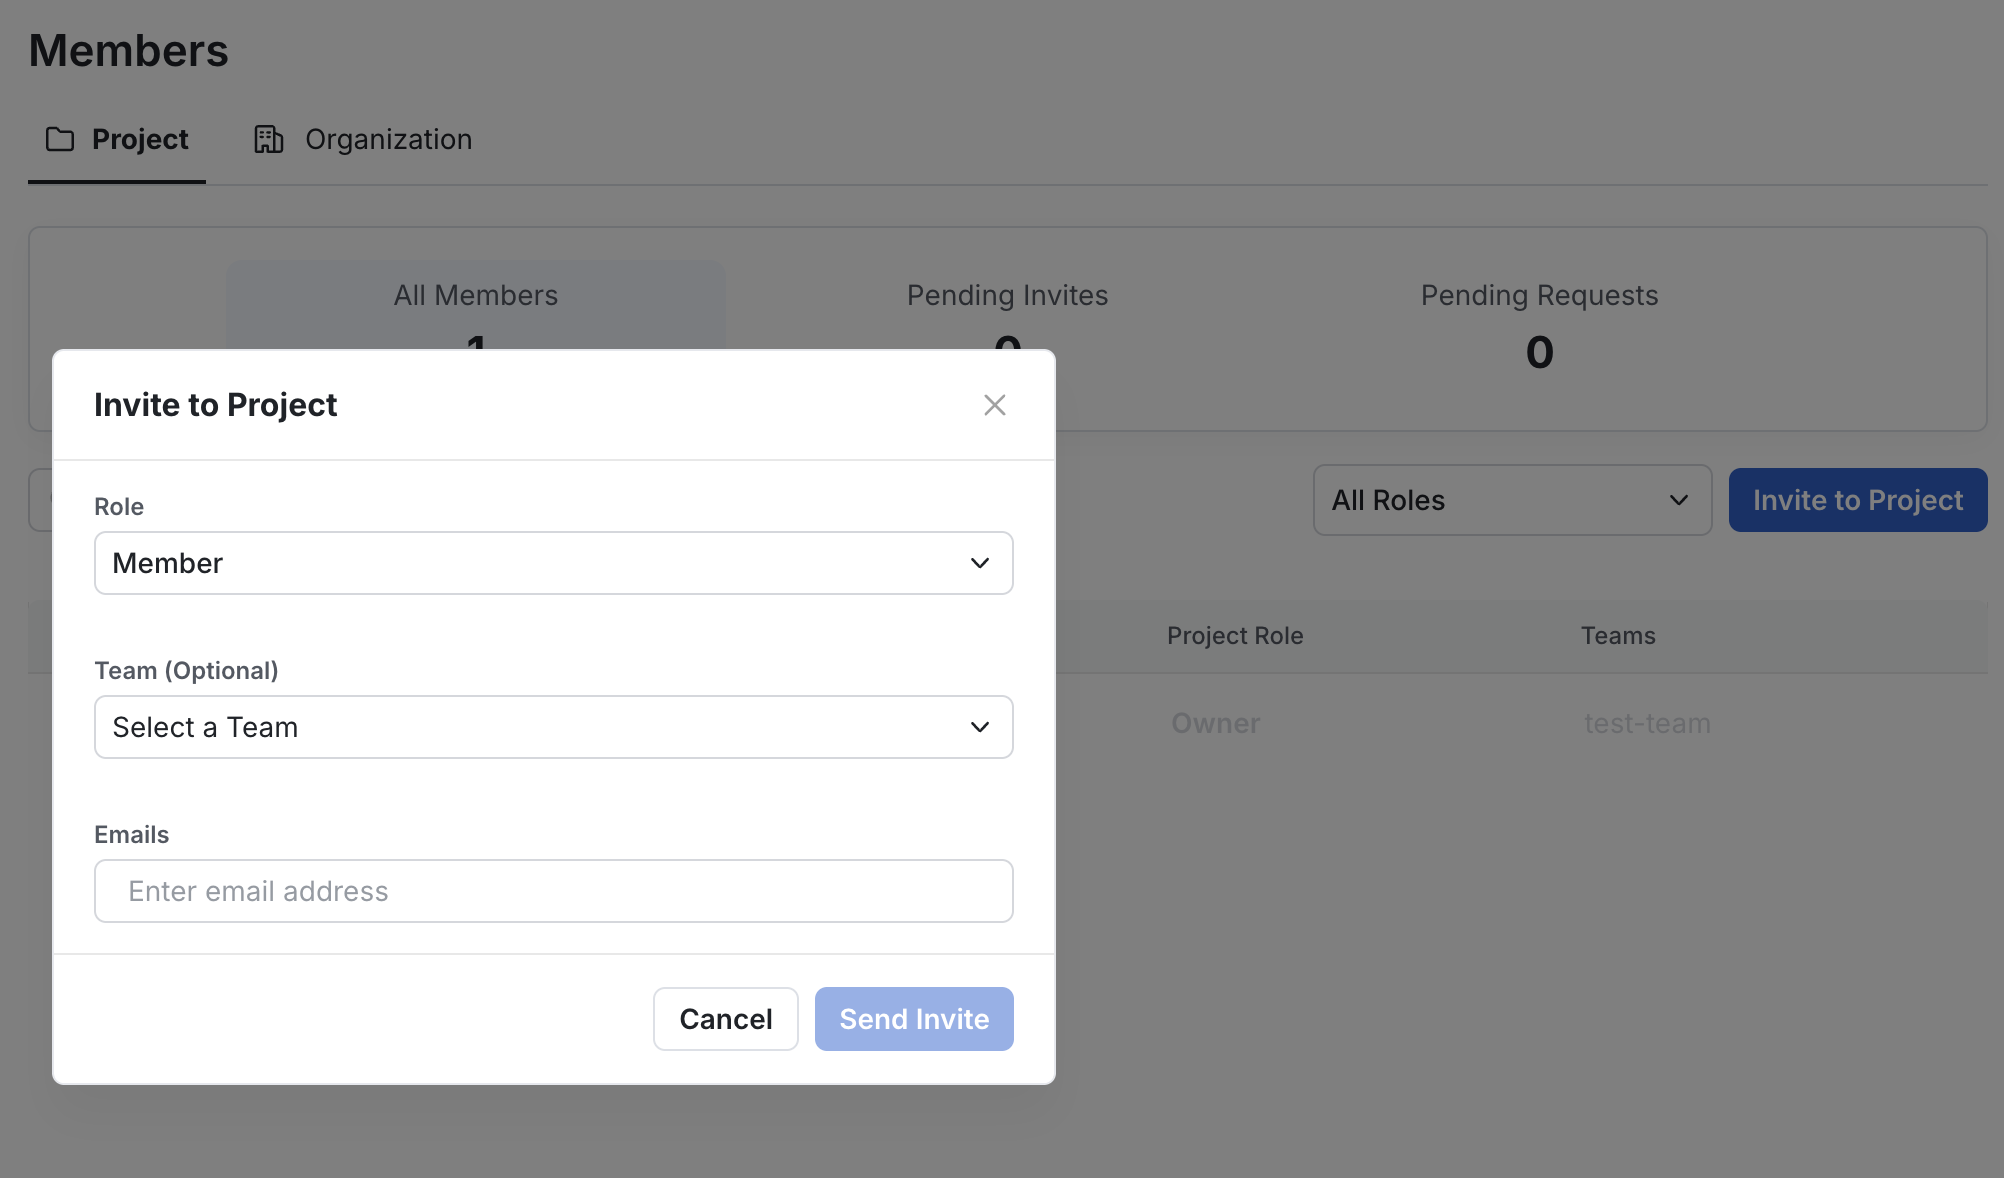
Step 5: Inviting your team to the Organization

Project invite interface
If you’ve successfully configured SSO, your teams can now join the Statsig organization by signing in with your identity provider. If you haven’t set up the SSO yet, you can invite individual members to your organization and/or project in the console.

Step 6: Creating Teams within the Project

Teams can be created within the project to help with organization and ownership. Once a team is configured and users are added to team, any configs created by those users will be associated with the team that the user belongs to. And these configs will automatically inherit all the default settings and templates from the team when they are created.
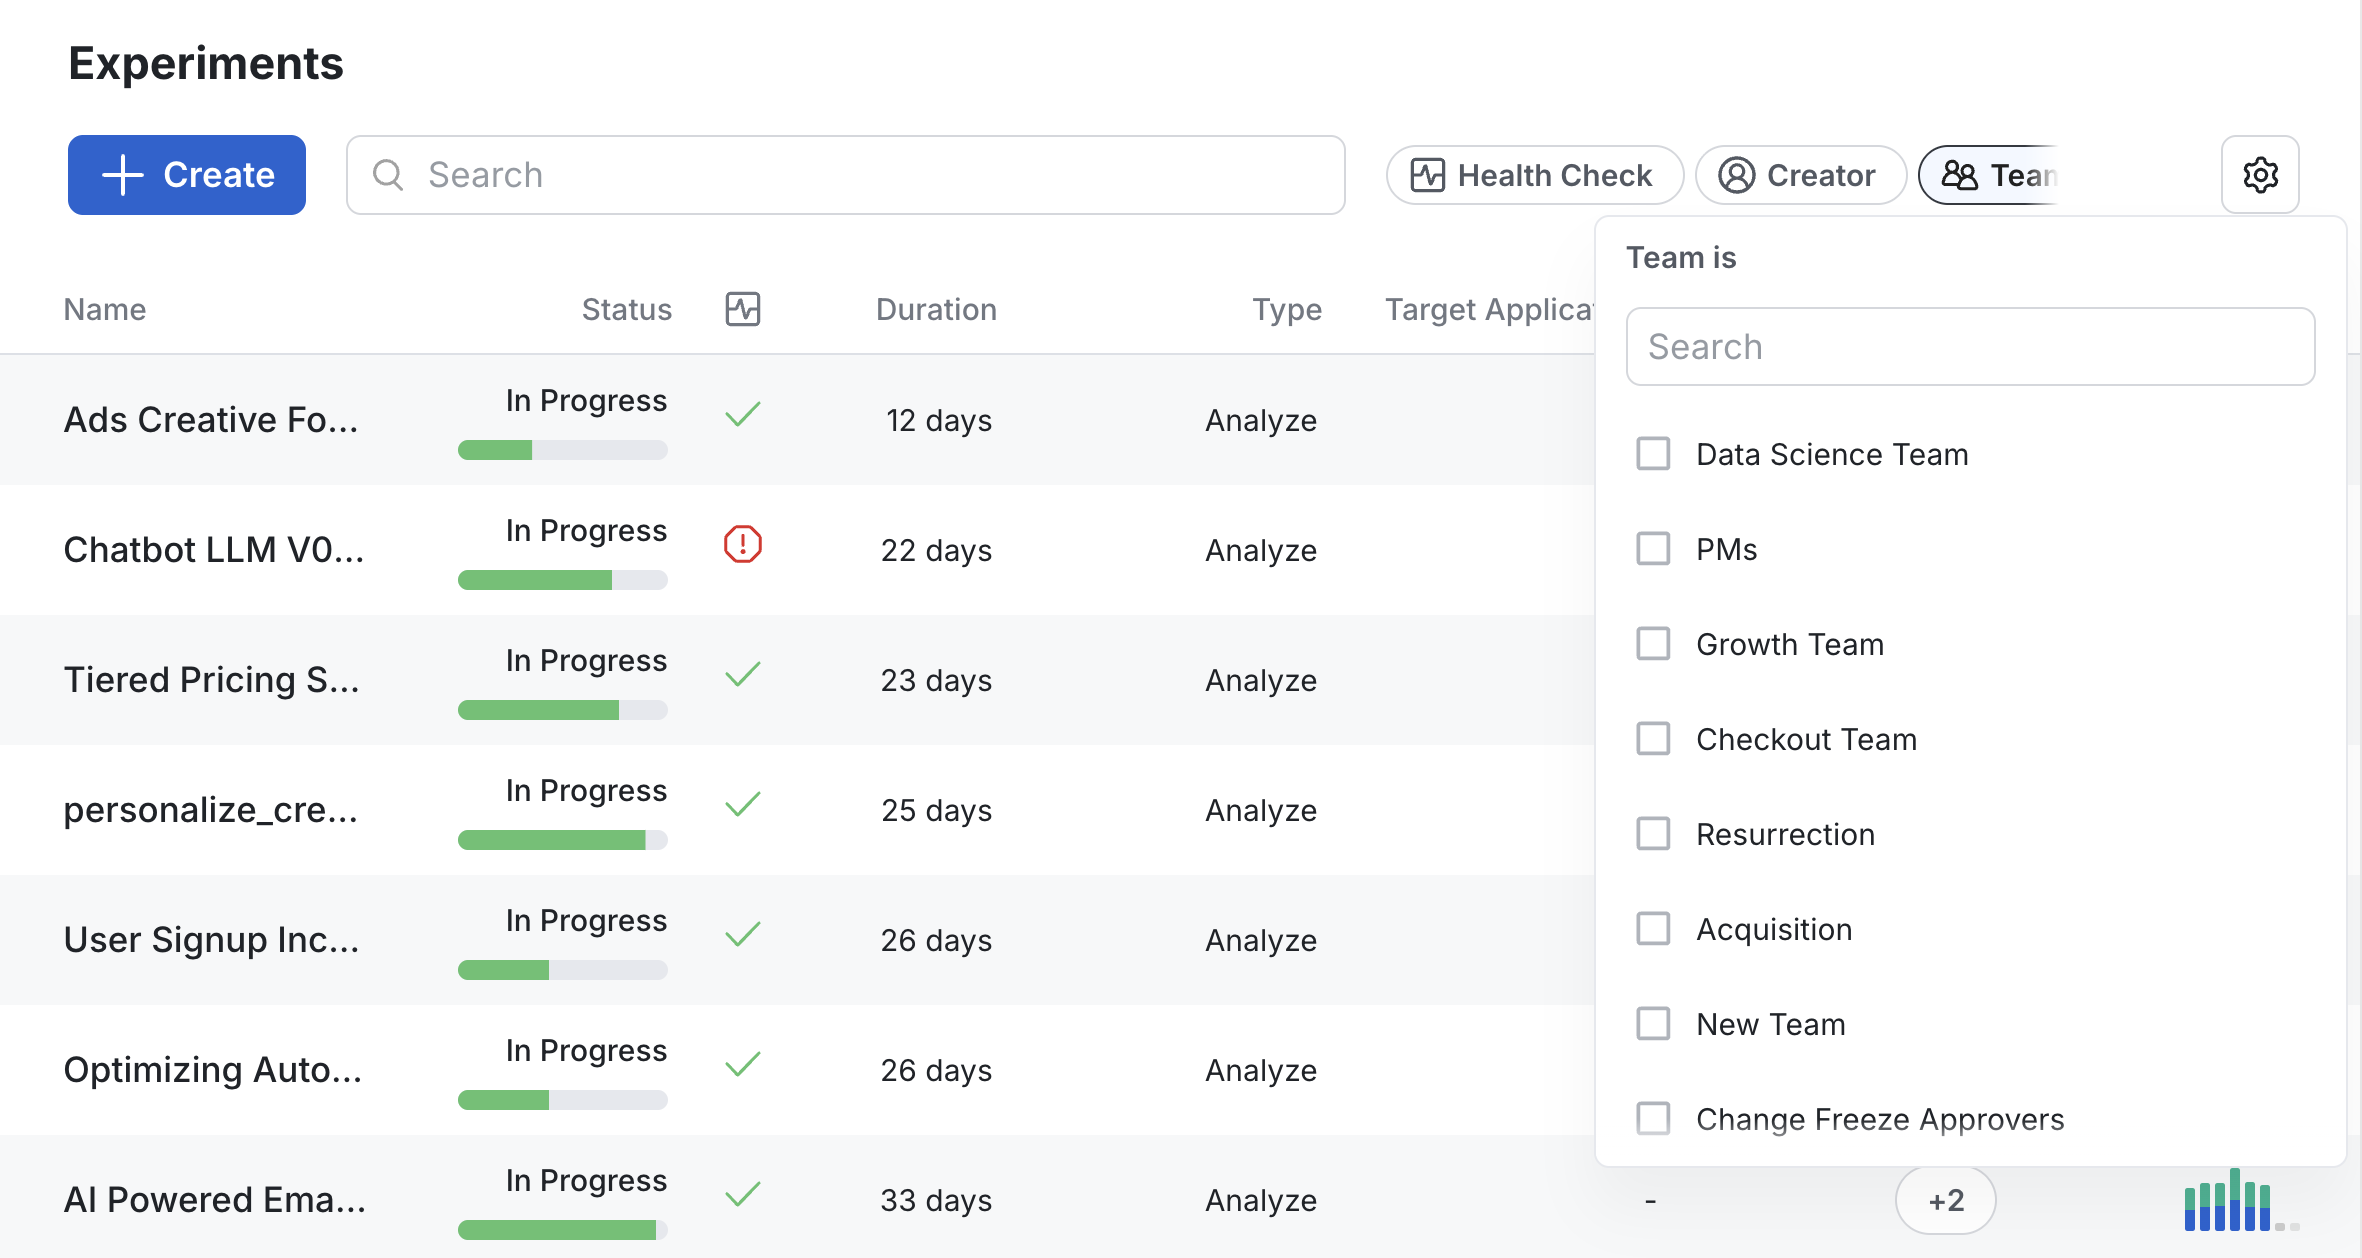
Team filter in experiments
Team becomes extremely useful as multiple teams begin to use Statsig, and it also helps the onboarding of new users as it provides a set of defaults to go off from.

Best practices

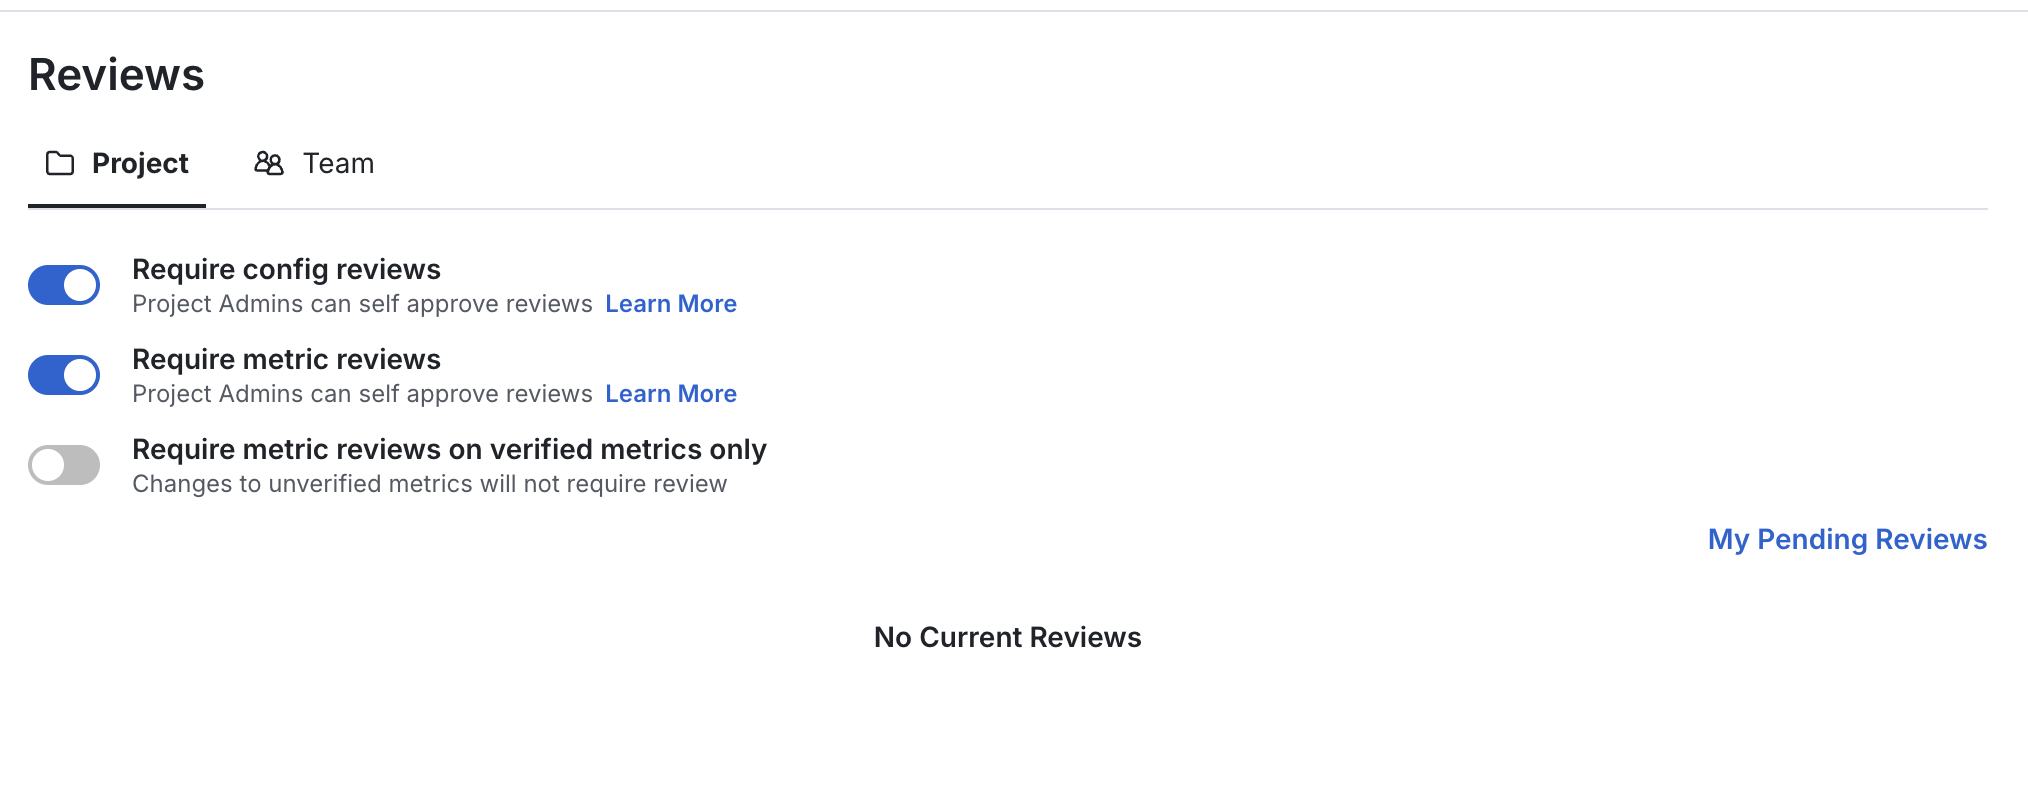
Setting up Review Policies

Review setting interface
Within Statsig, you can enable reviews for any changes to config and metric, requiring a second pair of eyes to review the change before they get deployed to production. Note that you can customize your review policies to align with your organization’s needs. For example, you can set up a team of reviewers by giving their roles a permission to approve the reviews. You can also give certain roles (e.g., oncalls) the ability to self-approve or require reviews only for production environment to allow for agility when needed.

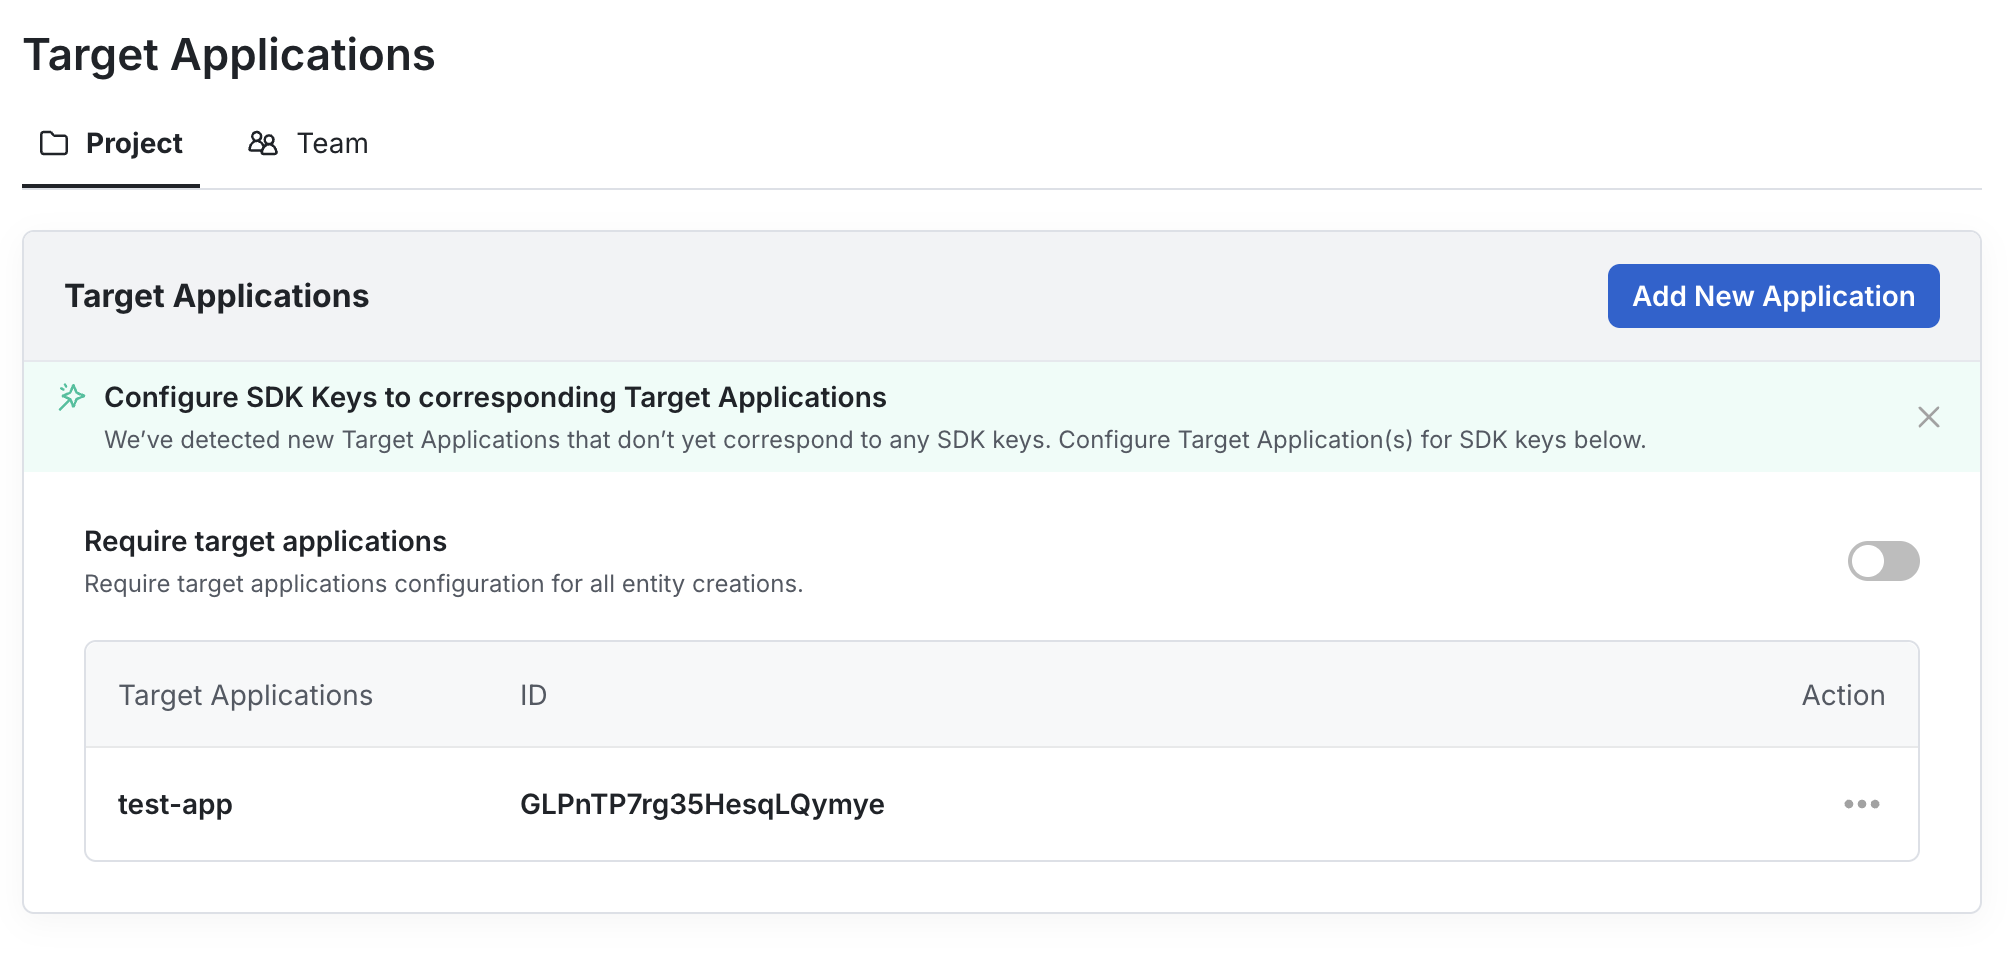
Configuring Target Apps for SDK keys

Target apps interface
Target app is an attribute you can associate to your SDK keys and configs. Through target apps, you can precisely set the scope of configs that will be accessed from each SDK key (which can also reduce the size of your payloads). We highly recommend setting up target apps as you scale the usage of Statsig for additional performance and security.

Setting up Notifications

Statsig has an integration with Slack that you can set up, so you can receive real-time notifications about the activities, status changes, and other useful alerts directly in your Slack workspace. Additionally, you can configure to receive notifications in your email as well for any alerts, reviews, reports, and more.